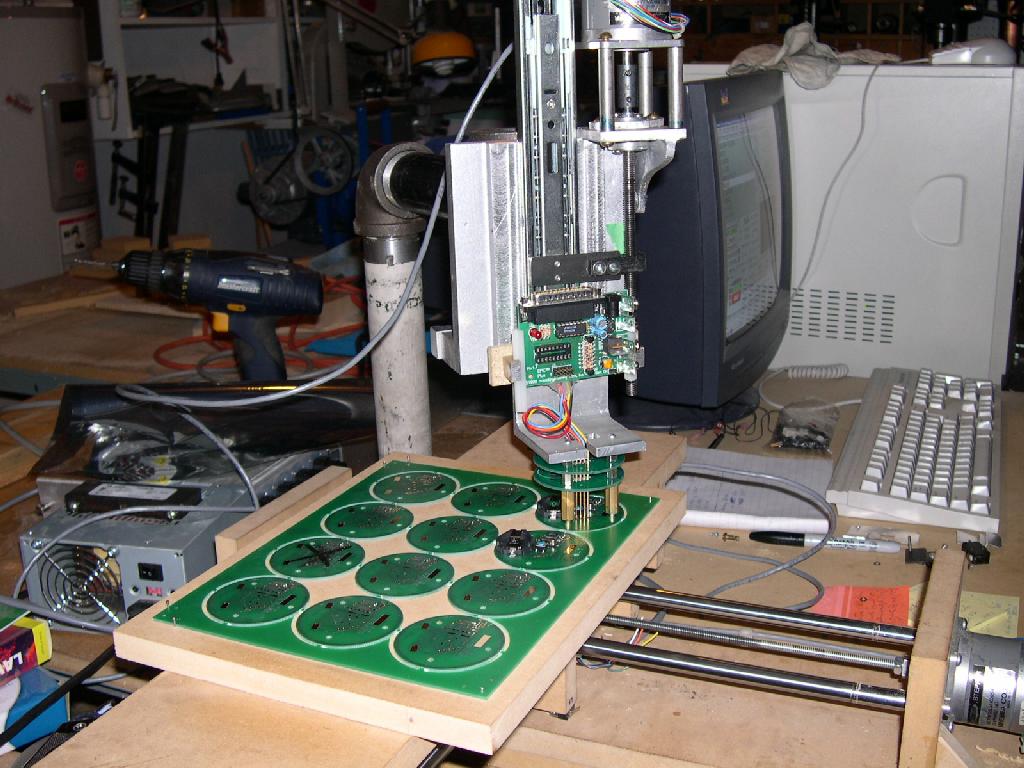
XYZ Stage for Programming circuit boards.
The programmer is from Micro Engineeering Labs mounted to a drawer slide. The drawer slide sits in the channel of the casting in-between the two raised portions. They are there in case I want to add a CRS ways to create a more robust Z axis for milling or engraving.
The stepper motor turns a leadscrew which pulls or pushes on the plastic nut bolted to the drawer slide. When the PIC programmer is lowered, the brass tapered alignment pins on the head center the board. The spring loaded pins then make contact with the pads on the PC board. At this point, the programmer would program the device. However, the 20tpi leadscrews and small stepper motors resulted in such slow movement that it was faster to do them by hand.
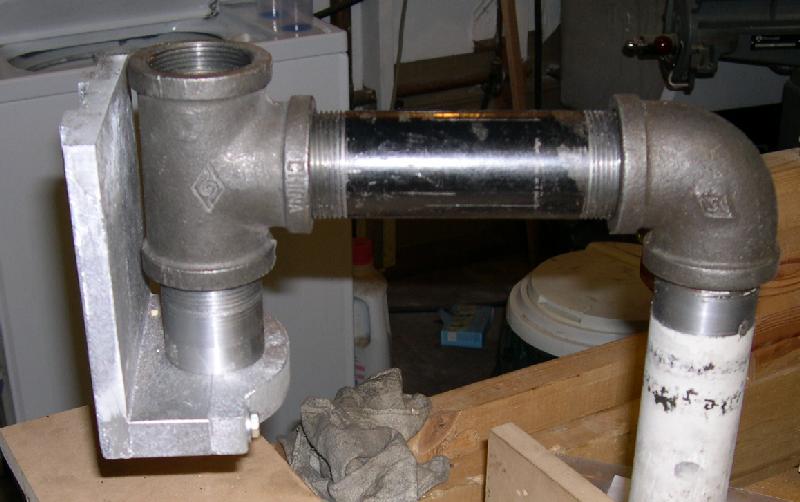
This next photo is a close-up of the back of the casting as bolted to the pipe. I turned down the pipe to make it perfectly round and bored out the casting to just fit. Then I removed the clamp and milled a tiny bit off the flange so that when bolted back together it would firmly grip the pipe. The pipe threads were cut on the SB lathe with a taper attachment.
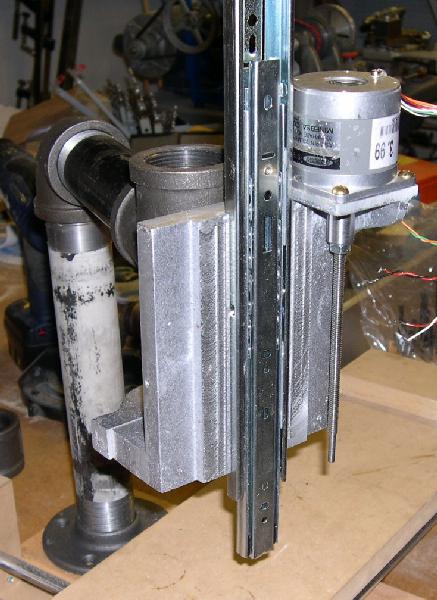
Finally here's a close up of the drawer slide and the Z axis.
And then the patterns and castings
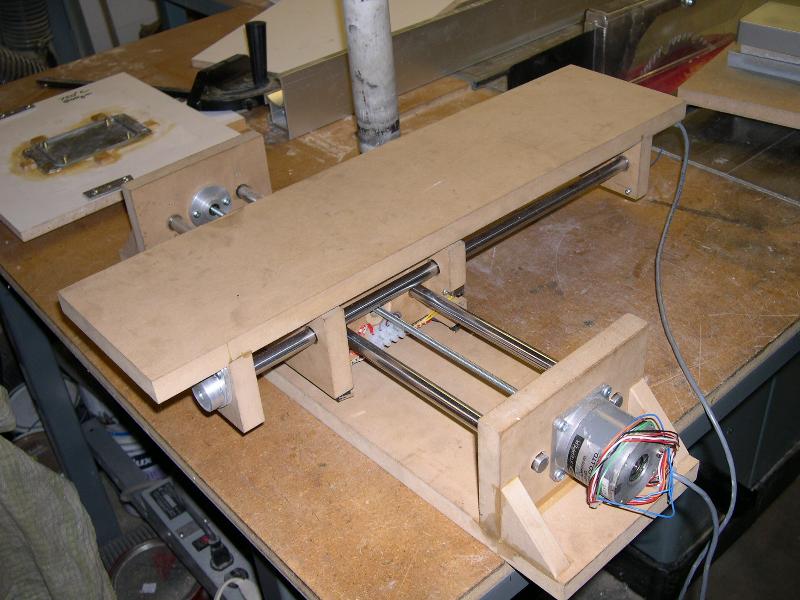
The XY stage is made from MDF compressed sawdust and is quite heavy. The 1/2" rails salvaged from DEC printers do flex under the weight. But I had 5/8" OD with 1/2" ID oilite bushings handy so I stacked all the end pieces together aligned with their edges and screwed the works together with long drywall screws. Then I used a 5/8" forstner bit to drill the support guide rod holes and the centre lead screw holes.
After that I took the end plates apart and ripped some of them on the table saw to be narrower and provide for clearance. Then glue the long pieces and add braces. The guide rods sit in the end plates in 5/8" x 1/2" steel rings also salvaged from the printers. The moving parts have the oilite bushings. Those big aluminium end caps capture a plastic disk on the end of the rods.
Drywall or sheet metal screws in the end plates reach out and close the home/limit switches. Only one is visible.
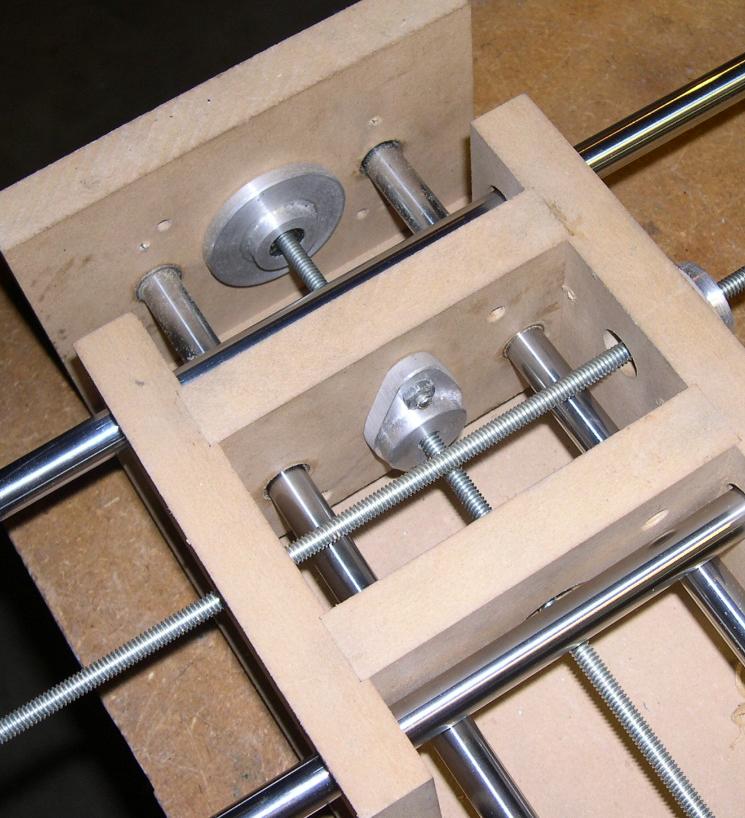
The lead screw nuts are made from Telflon and are inserted into the holder which is then screwed into the carriage assembly.
XY Carriage assembly showing leadscrew nut holder
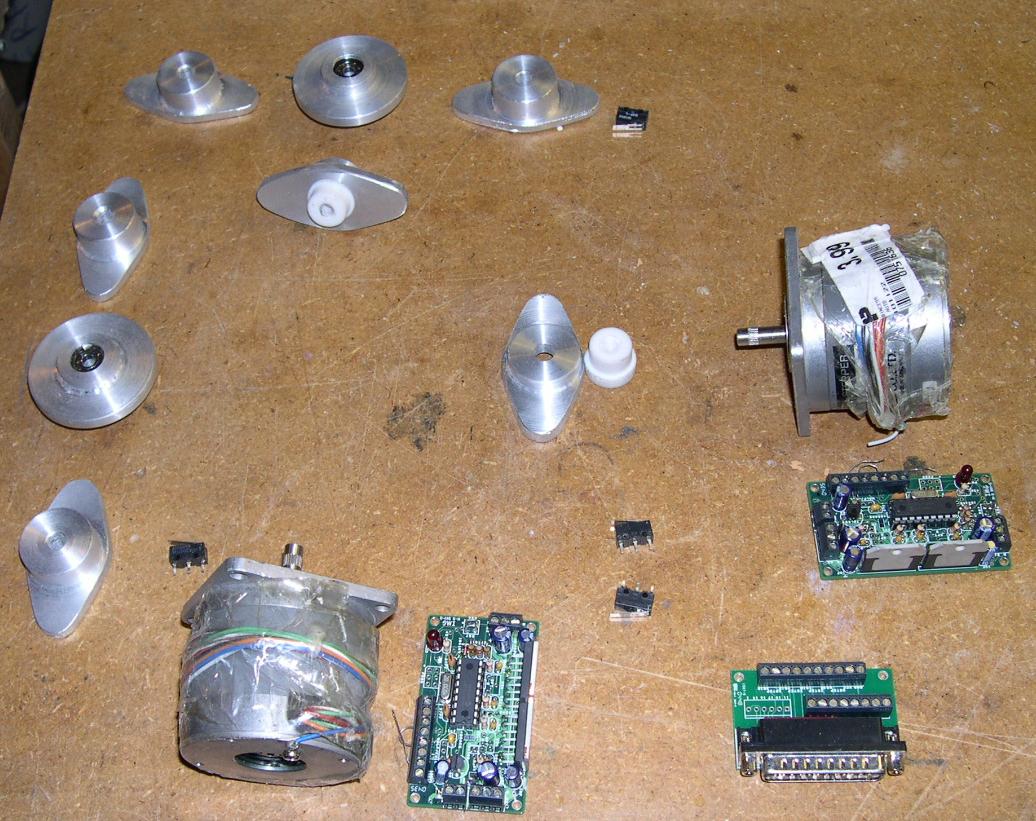
All the basic parts are laid out here in there proper places.
Castings, Motors, switches and Teflon nuts.
Total cost for all that was about $120 which includes the stepper drivers, the motors, teflon and about $2 worth of propane for the casting.